

 Learn how to make this fun (and super easy!) monstera leaf backpack so you can stand out at school. I can’t believe that I am already typing up back to school posts. Where has the summer gone? It feels like just yesterday that I was posting about pineapples and beach towels and now it’s time to dust off those notebooks and update our backpacks with a fun new design like a monstera leaf pattern.
The best part about going back to school is getting new school supplies. Though backpacks can be a bit expensive and quite generic looking, that’s why I wanted to share with you all a simple upgrade to a plain bag. Keep on reading to find out how to make this monstera leaf backpack!


Materials:
- Plain backpack
- Acrylic paint
- Paint brush
- Monstera leaf stencil
- Paper
- Pencil
How to make a monstera leaf backpack:
- Start by making a stencil so you can easily paint on your leaves. I did this by drawing out a monstera leaf on plain, thick, paper. Then I carefully cut out the leaf. You can also make the stencil by copying an image from online.

- Once you have your stencil, take a pencil and trace around it directly onto your backpack. Do this several times in different areas to cover your backpack.

- Taking some green paint and a paint brush start to paint in the leaf. I first began by going around the edges of the leaf and then filling in the center of it. I used a pretty small paint brush to do this.

- Continue to paint in all of your leaves.
- Let the paint dry completely before you use your backpack
 Time to throw your books into your new backpack and get your butt to school! If you want some more back to school DIY’s be sure to check out our Pinterest and while you are there pin this image!


 If you love marble and simple projects then try making this marbled clay vase! Scroll down to find the full tutorial.
 I’m a big fan of
  Simple crafts is what we are all about at Popcorn & Chocolate. Simple and cheap (but not cheap looking)! This DIY marbled vase is no exception. All you need to make it is some black and white Sculpey and an oven. Easy peasy.


 Keep reading to find the full tutorial for these cute and simple bunny erasers for Easter (or anytime really)!


 Learn how to make these fun and colorful mud cloth inspired plaster keychains by reading below!


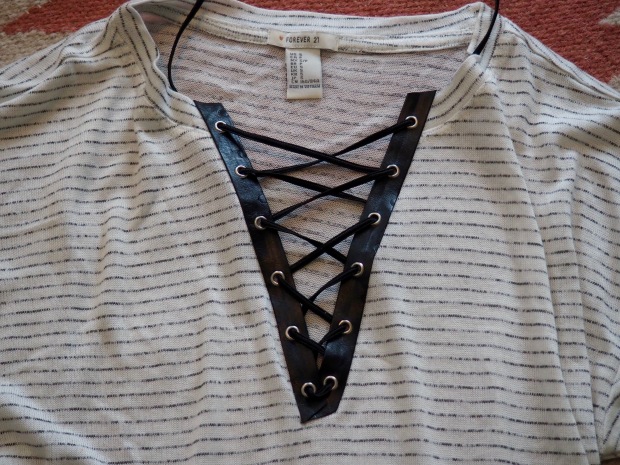
 I’ve been seeing lace-up shirts everywhere lately. And when you start seeing something everywhere and you are a DIY blogger then it is only your duty to create said item. In this case, a lace up shirt.


 Make these easy fabric covered letters to add to your shelf or gallery wall! We had these wooden letters that we bought forever ago thinking we would do one thing with them then another then another… We also bought some fabric forever ago at Ikea (gotta love) that we kept meaning to use as well… Well combine two craft supplies you didn’t need into one and you get these lovely fabric covered letters! Sometimes crafters go a little overboard in buying supplies. But I’m so glad we 1. finally have a use for these crafts and 2. that they came out so good!
  They are very simple to make and only require a few items that you might already have lying around in your craft supplies closet already. You can head on over to


 Now you just have to find a cute place to hang up your cactus shrinky dinks lights! I think I’m going to put mine around my desk. I already have my


