

 Let’s play a game where we list things we become obsessed with and then buy too much of. Okay, I’ll go first
- Trays – any size, shape, color I have them all
- Mugs – some are just too stinking cute to pass up
- Popcorn & Chocolate – what did you expect?
- Coasters – omg I need them all
Okay, now it’s your turn. It’s alright, we won’t judge you; we have a full cabinet dedicated to popcorn alone. Think of it as a retail therapy session. Doesn’t that feel nice to admit?  The reason I bring this up is because we have recently added to our overwhelming supply of one of the aforementioned items on the list. However, we didn’t pick it up in a store like we usually do. Nope, this one is one of a kind couldn’t even replicate it if we tried (believe me we did try). And what, you may ask, are we talking about that we made and added to our list of why do we have so many of these? Coasters!
  These aren’t just any old coasters though; they are marbled coasters! Plus, they cost as much as buying a white tile at Home Depot costs because most likely you already have the other necessary supplies, which are water and nail polish.
 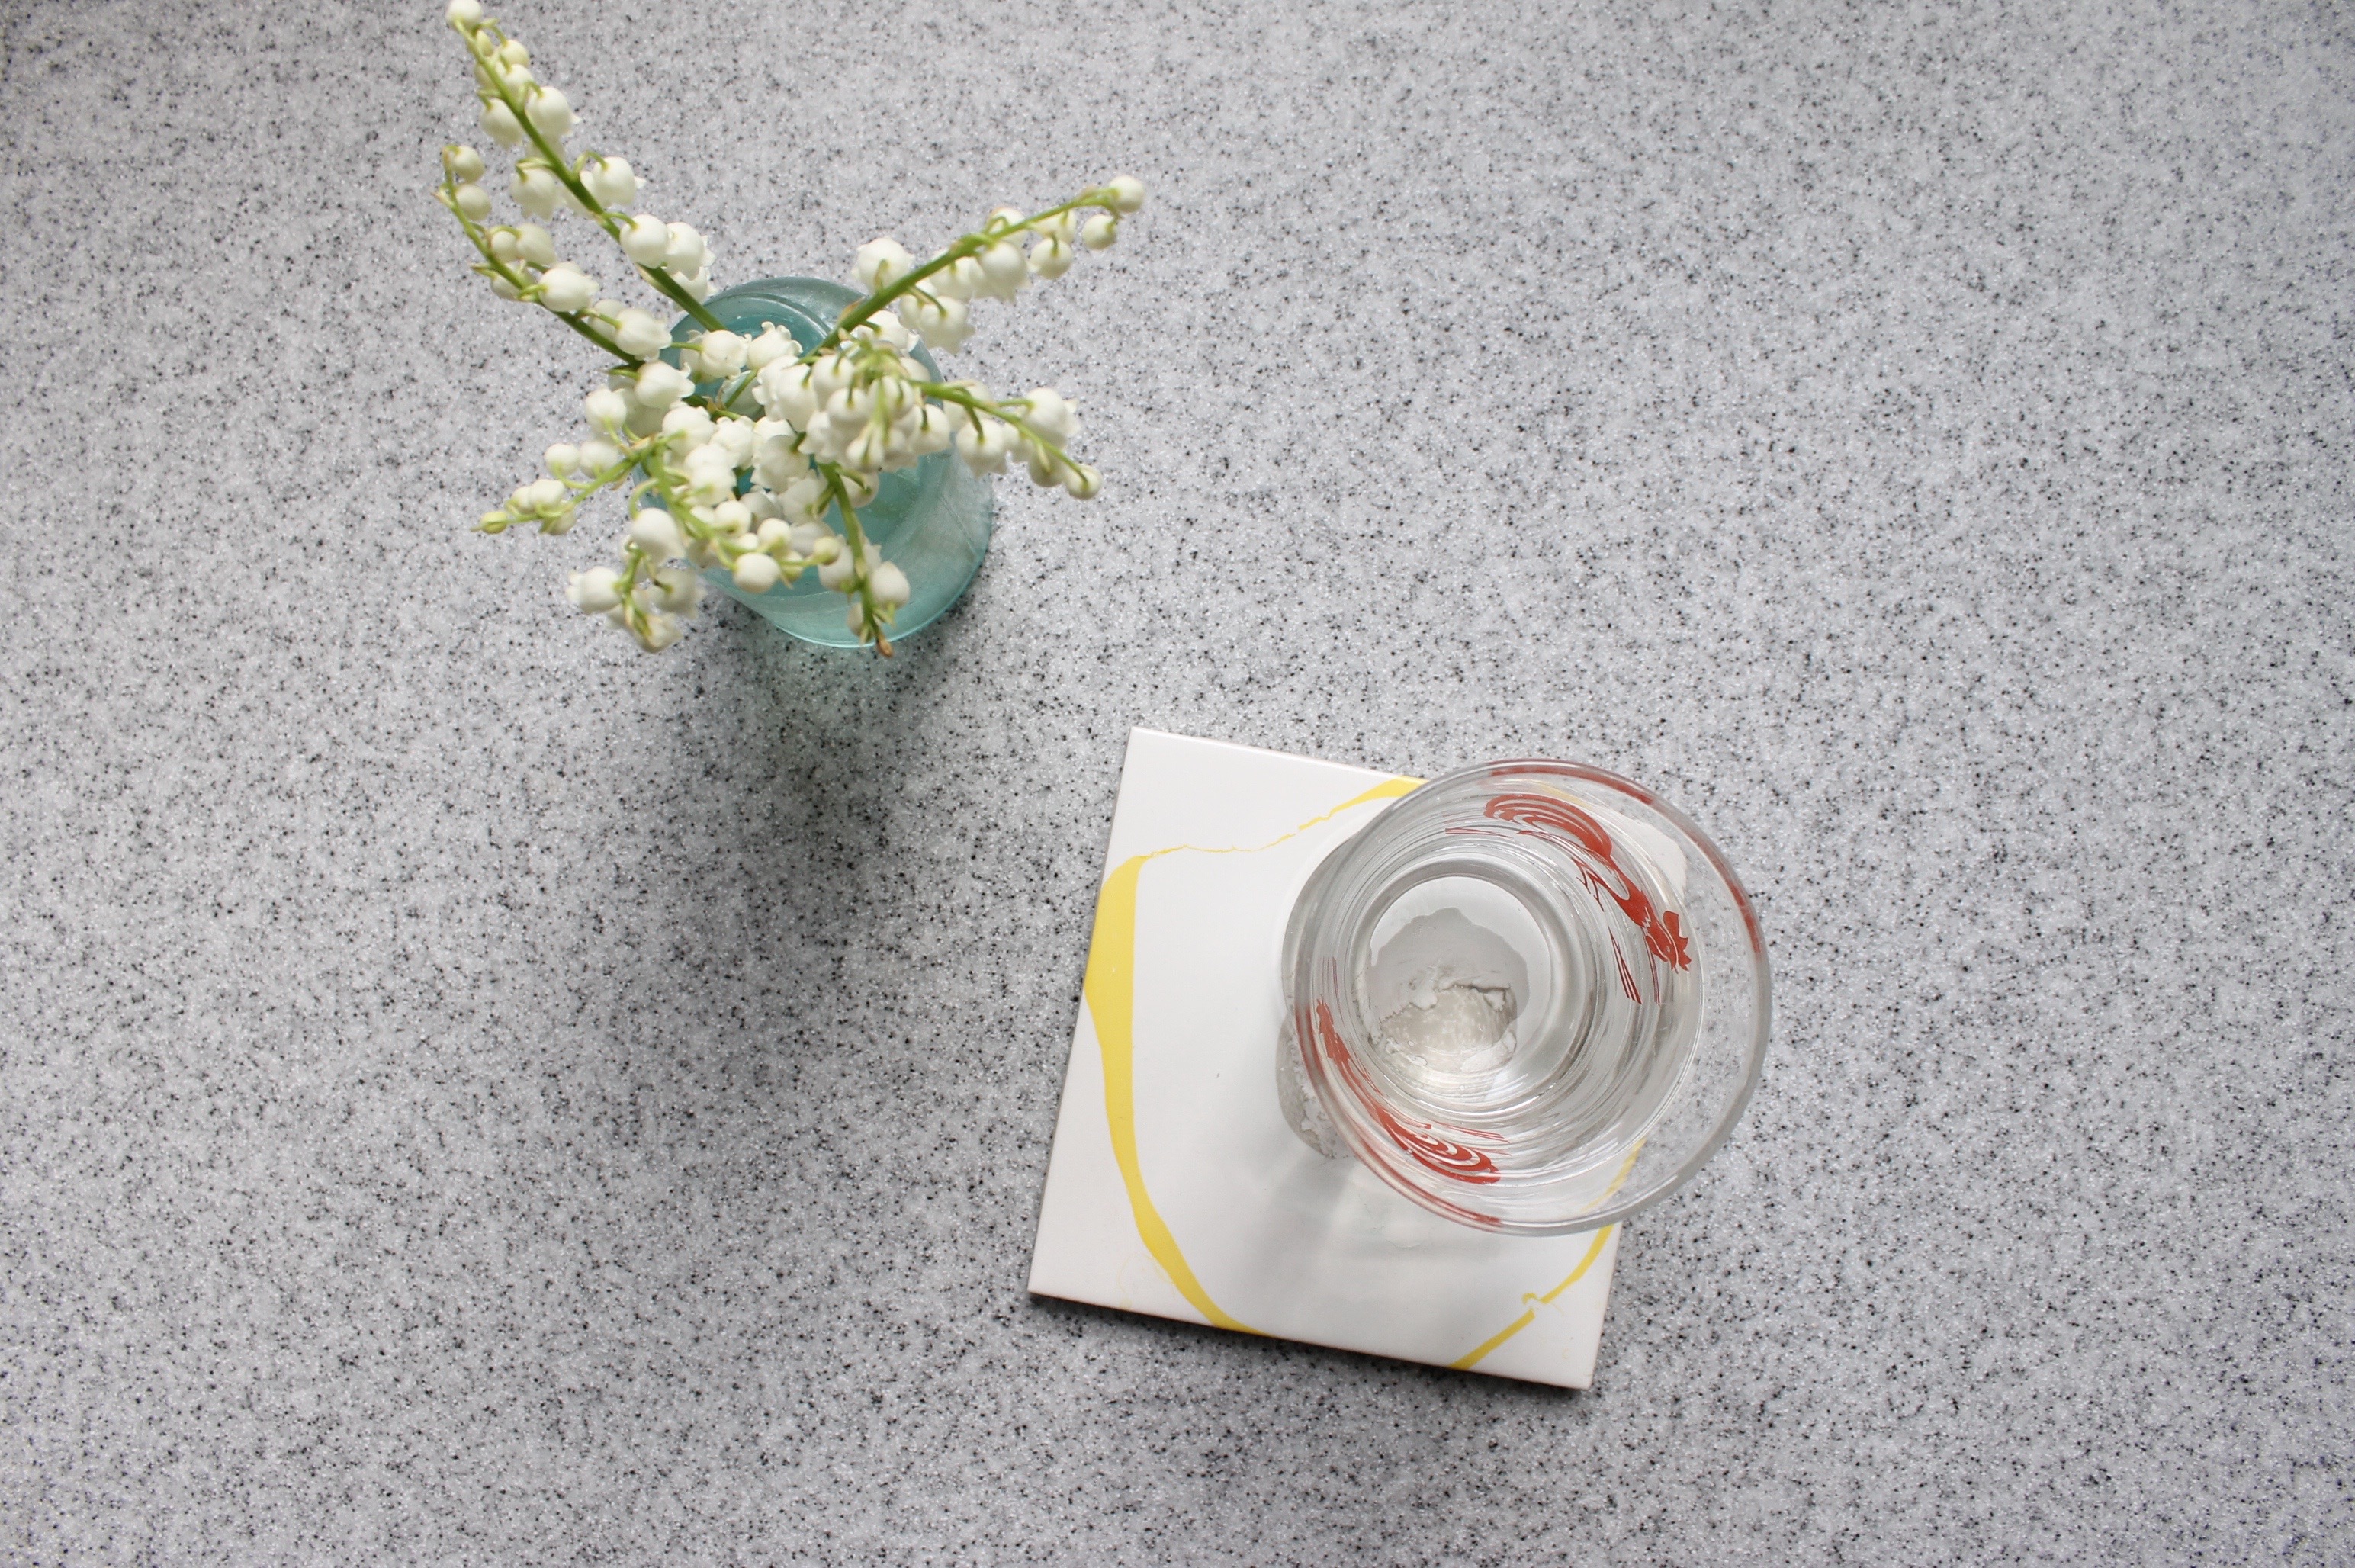 What to do: Get a bin (something that can get ruined because it will get ruined…) or an old tupperware container like we used, and fill it with warm water. If you don’t use warm water, the nail polish will harden quickly and it won’t stick to the tile. Next uncap all of the nail polish you plan to use and then one buy one quickly pour drops into the water. You can try to make a design, but it’s pretty hard to be intentional here. Finally, take your tile and dip it into the water with the tile facing down. You want to try and dip it in as flat as you can so as to not cause any air bubbles. Lift out the tile and slowly turn it over and let air dry for a few hours. You want to do this whole process pretty fast as the nail polish tends to harden and clump quickly. Once the tile is completely dry we sprayed it with a sealant to make them heat safe and water proof. Don’t fear, if yours comes out ugly, just wipe it down with nail polish remover and wipe it with water and start over! Make sure you have some windows open or some ventilation with all these fumes!
 Yep, that’s right we got this marble effect by just dipping a white tile into water with nail polish drops. Simple as that. Look at all these beauties we made and added to our coaster collection:
Thanks for sharing our DIY – I am glad that you liked it! 🙂
I absolutely love your coasters. What did you seal them with?
Thank you! To be honest I don’t think I ended up sealing them. I think I found a waterproofer at Home Depot and did it on one to test it out. I didn’t see too much of a difference but I also haven’t put super wet drinks on them.
These are so cool! What a great idea! It’s magical! 🙂
Thanks Karen! 🙂